Tooth Pillow Crochet Pattern
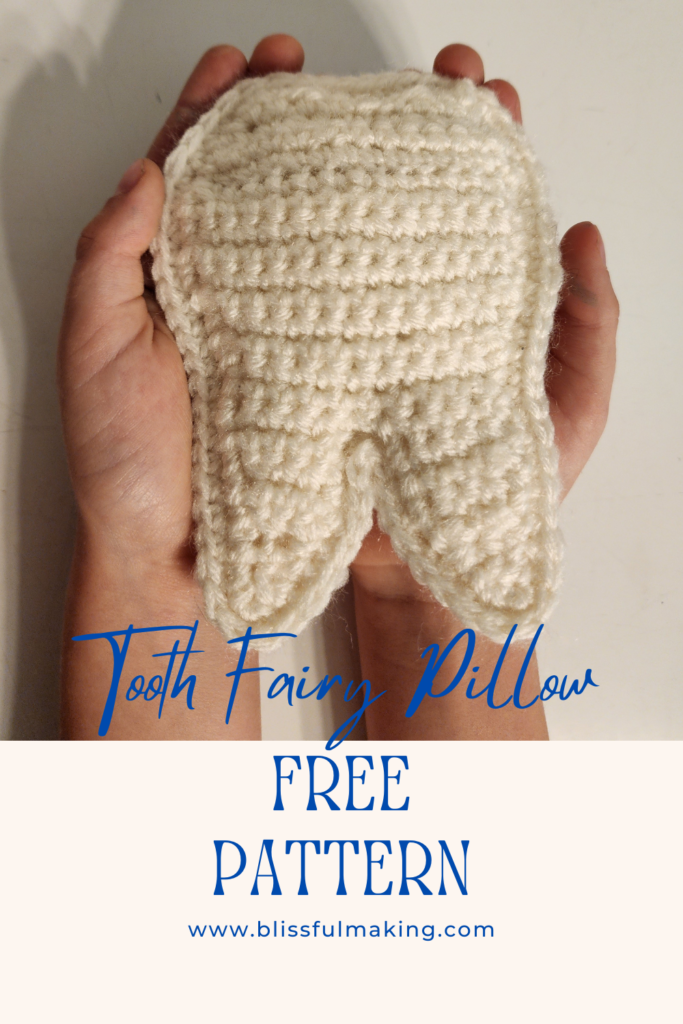
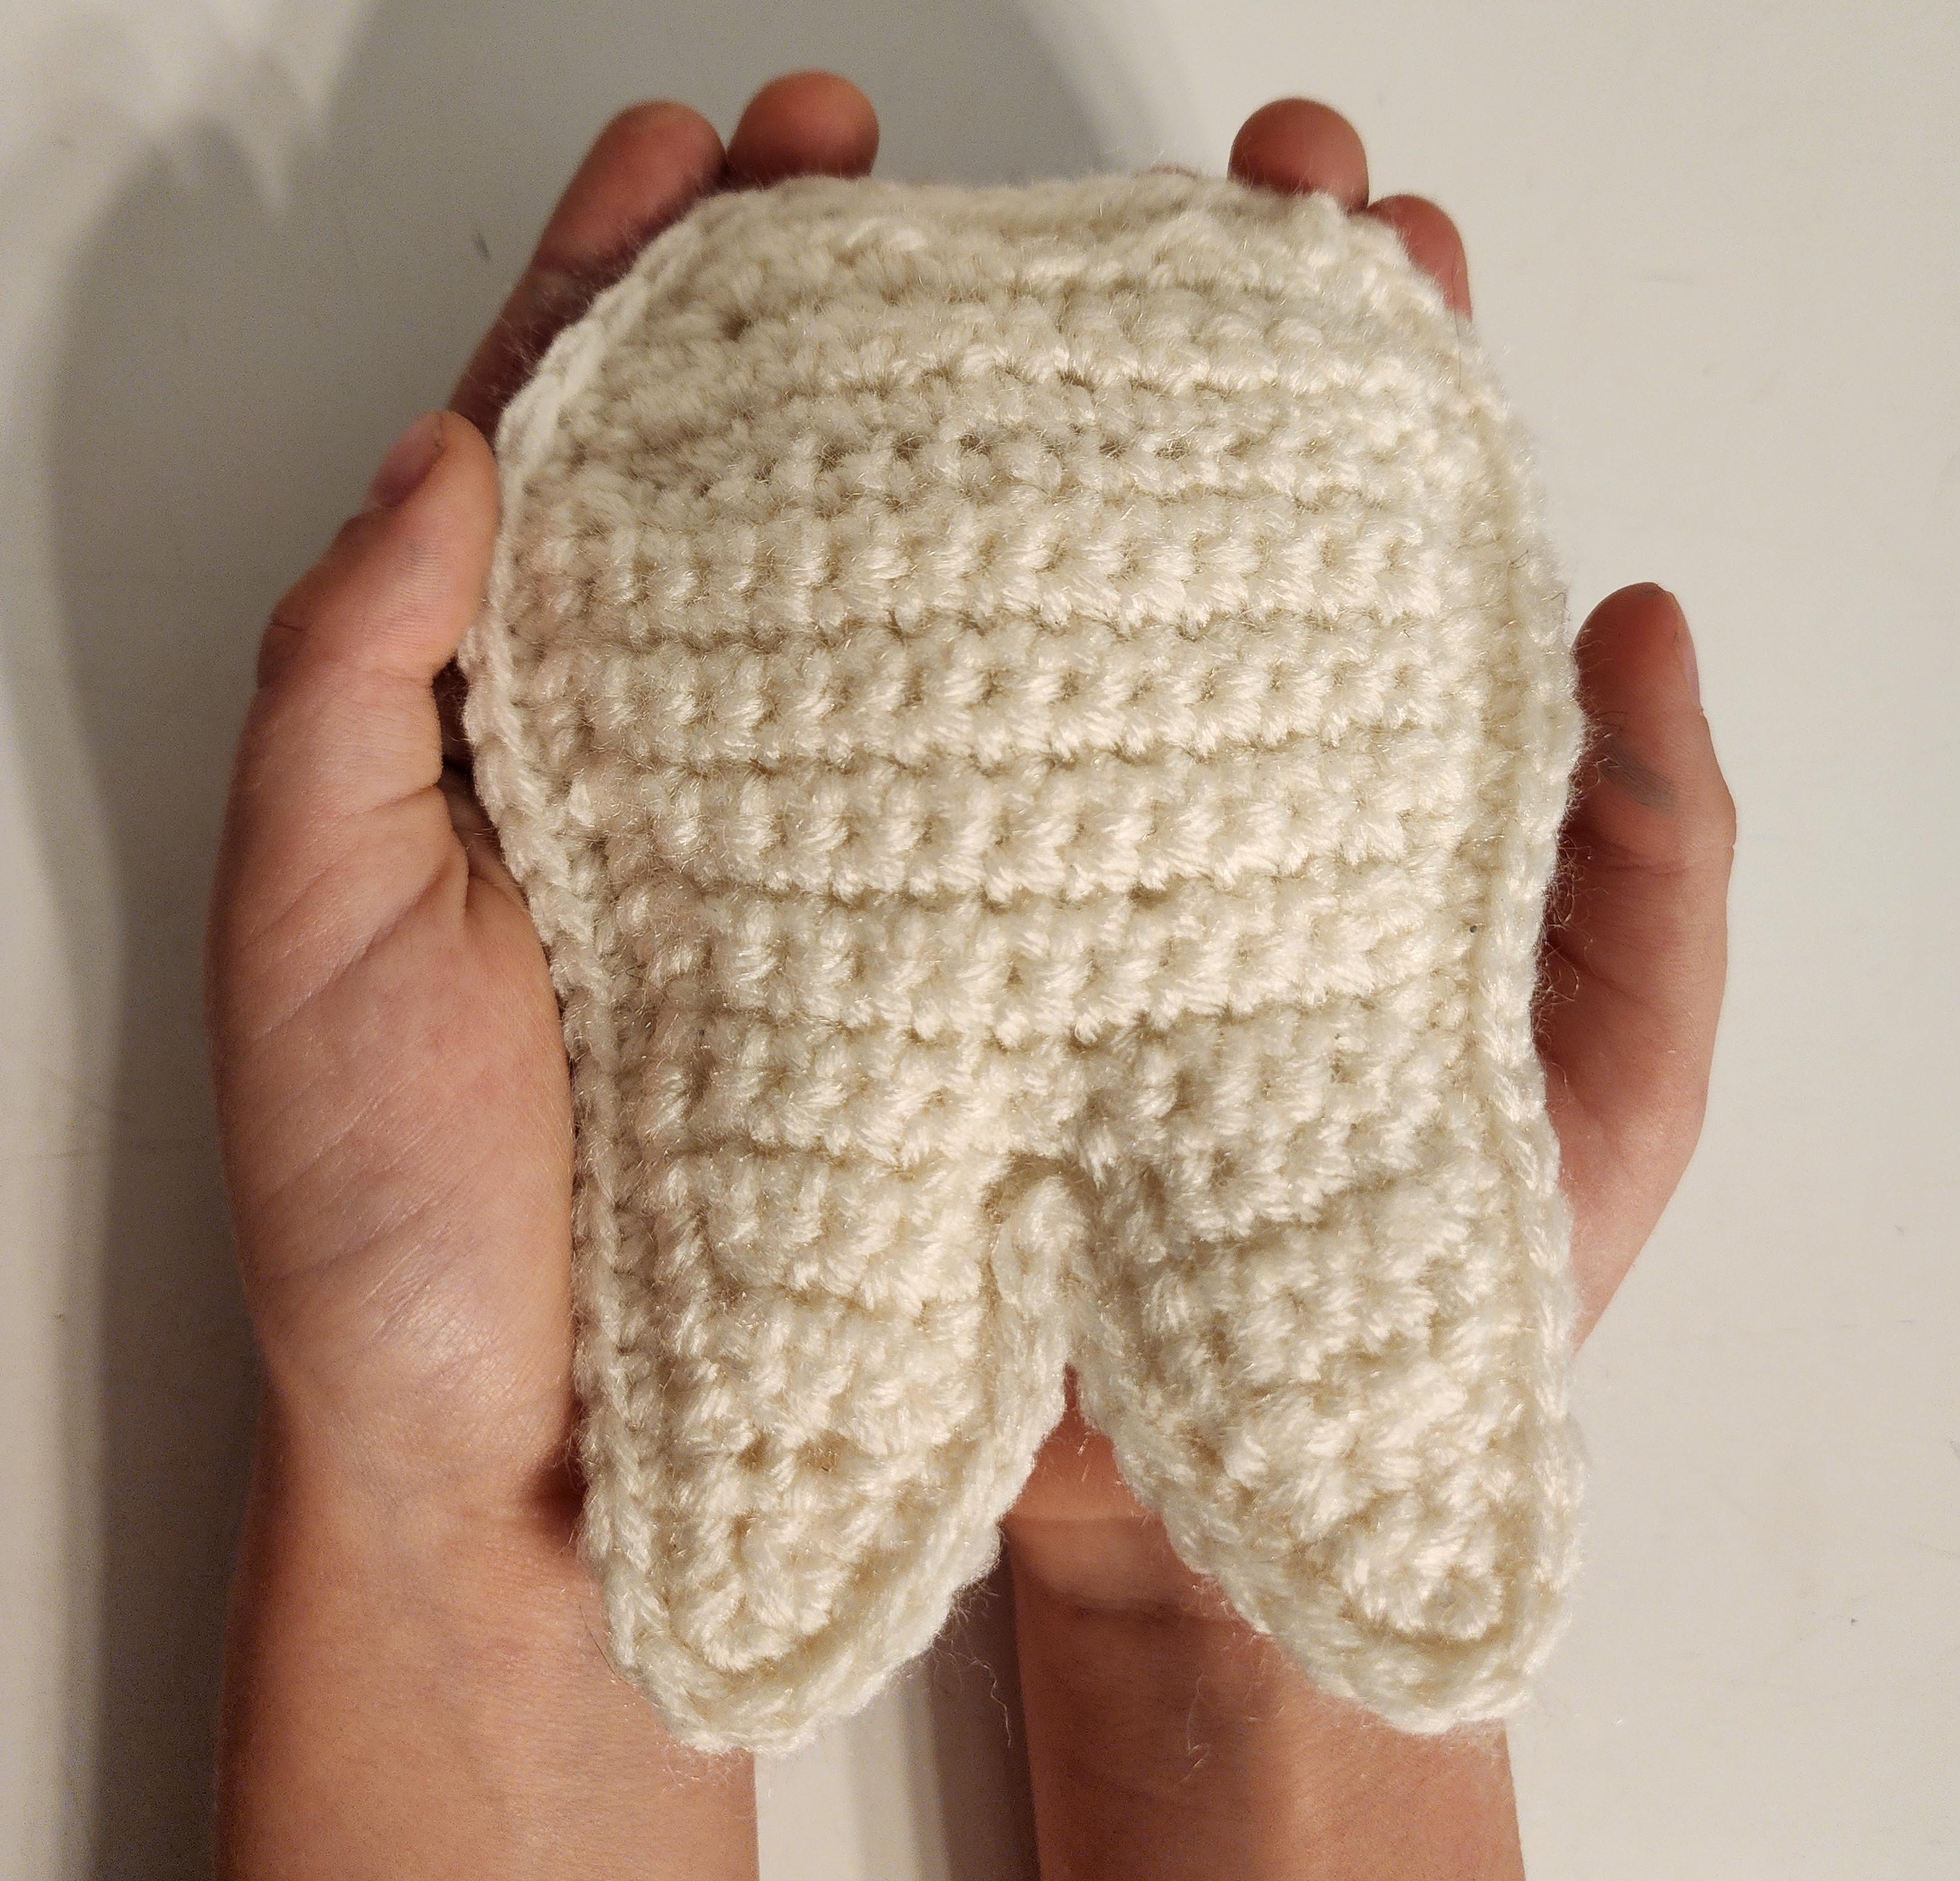
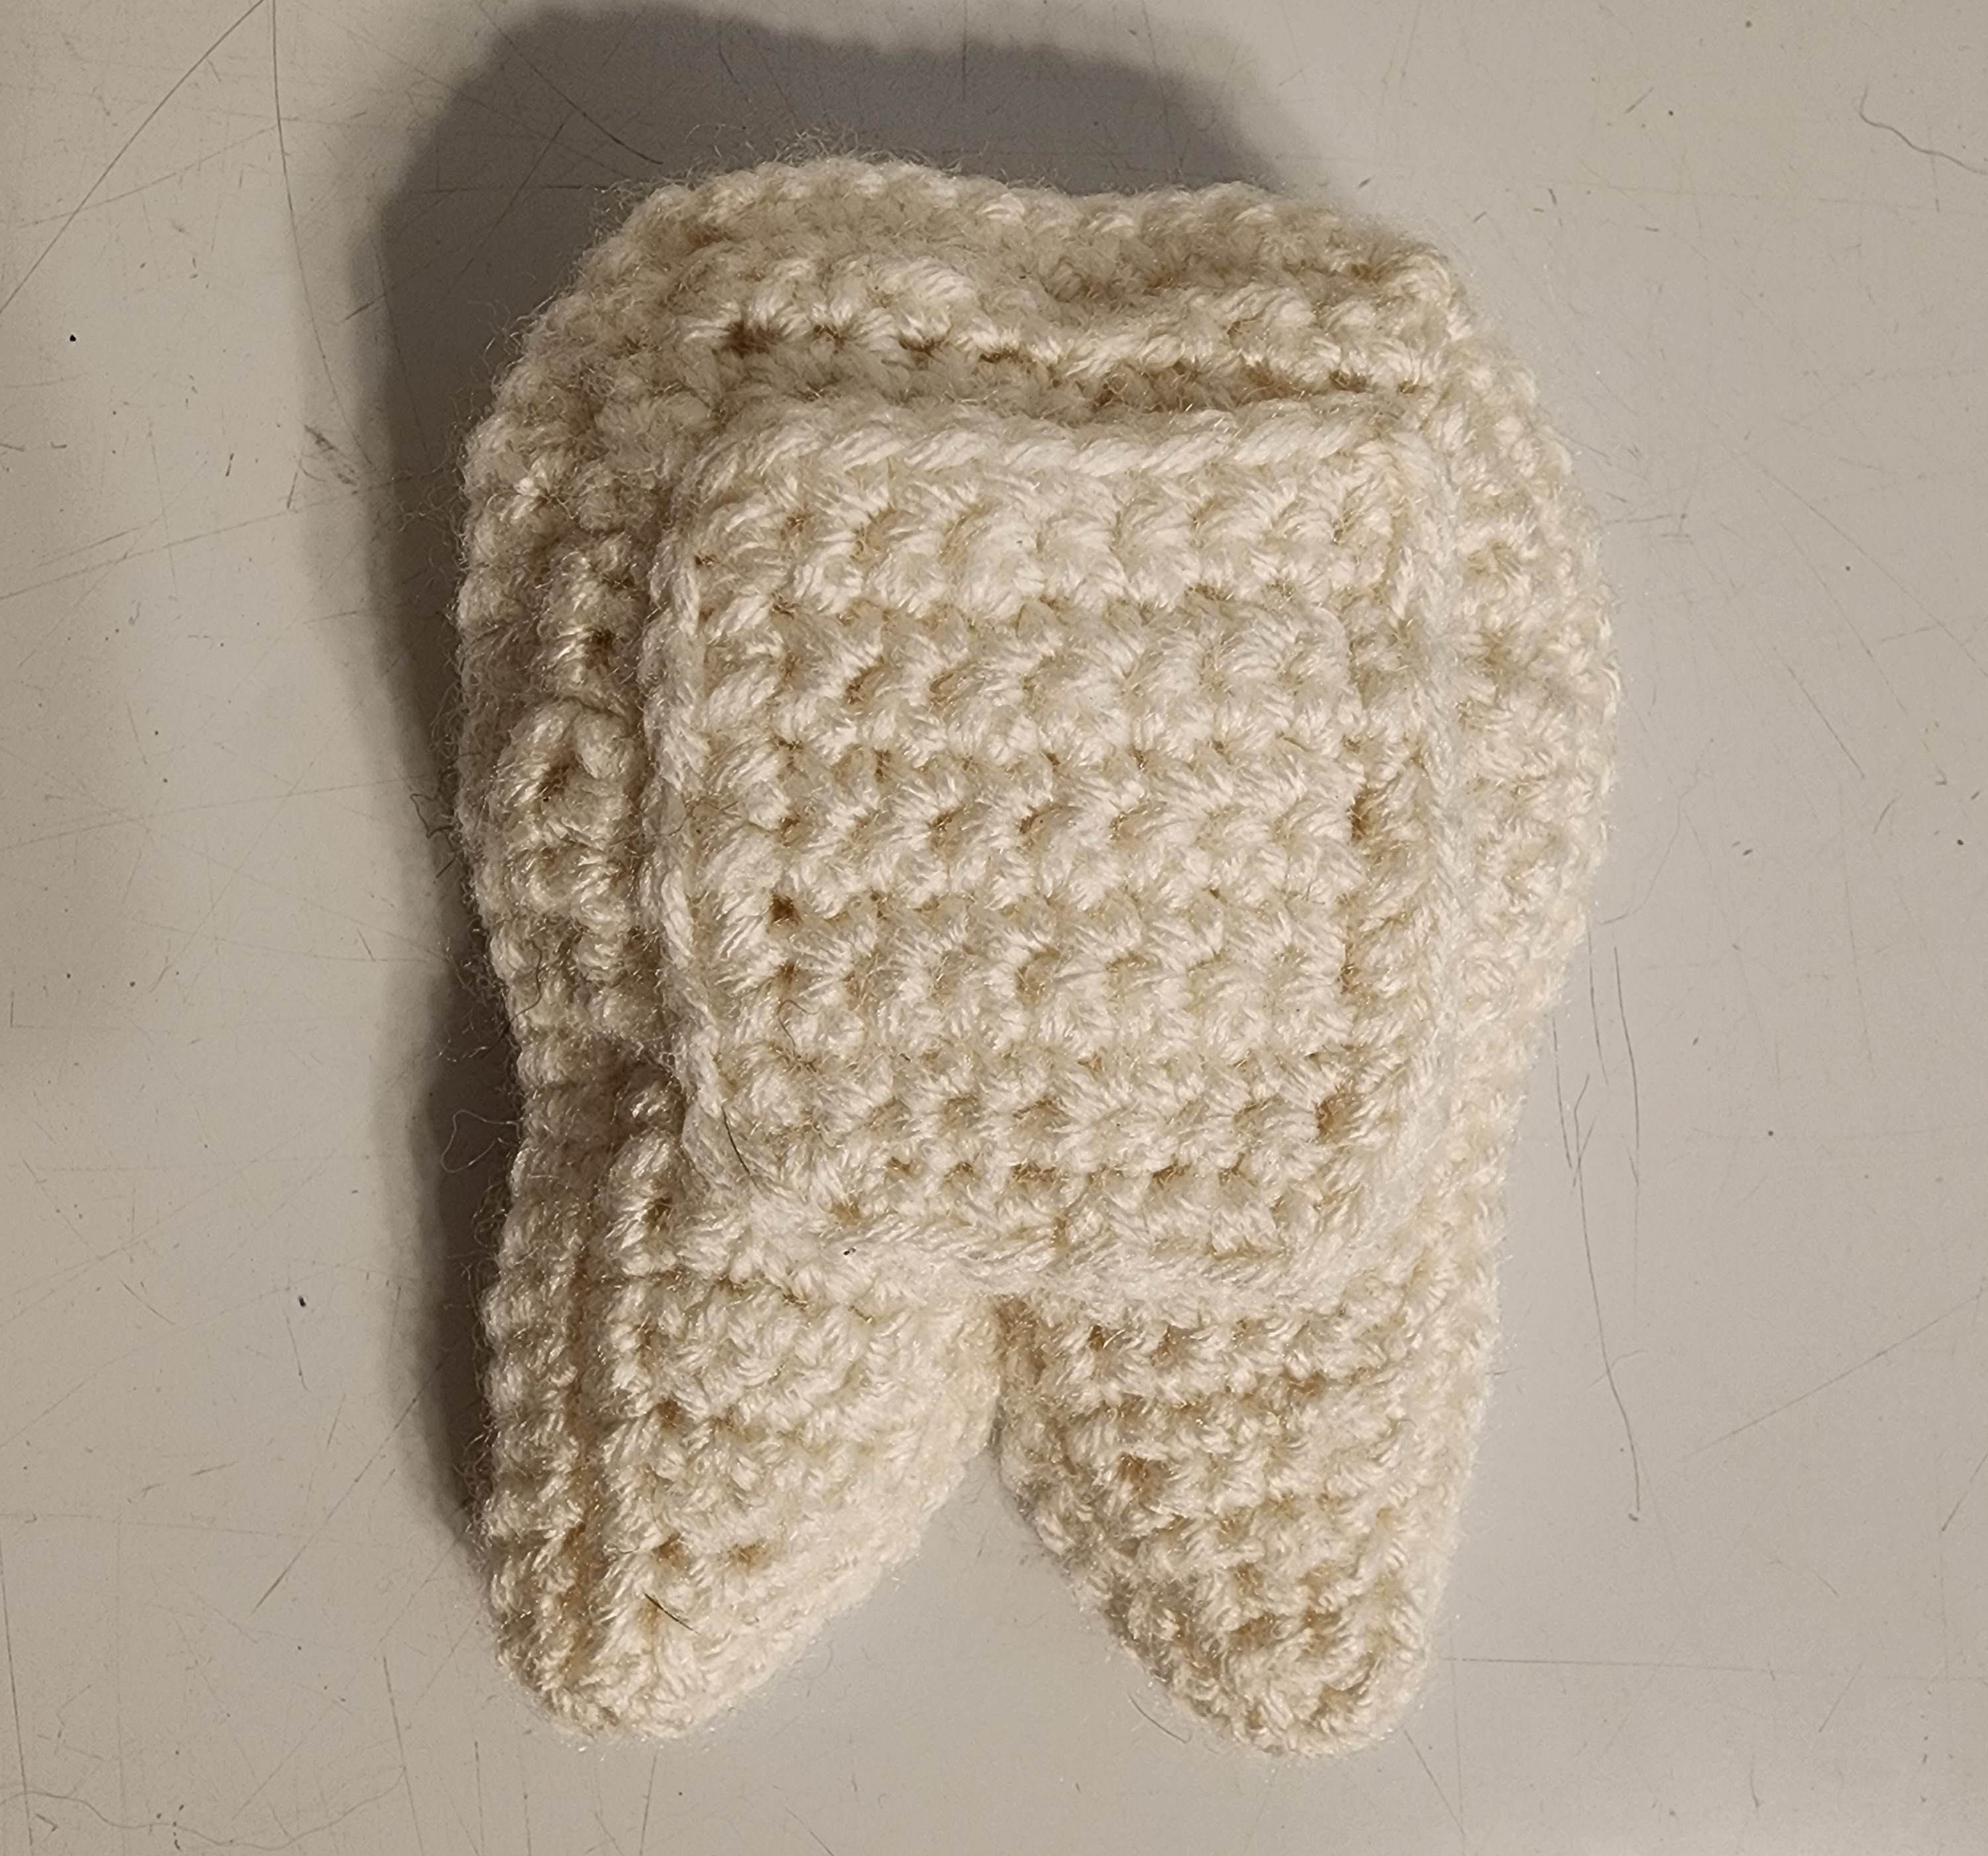
My oldest son recently got his first loose tooth! As expected he’s so excited, but he has so much stuff in his bed. How can the tooth fairy possibly find his tooth? I made this little pillow in the hopes that it will be easier to find his tooth under the pillows when it finally falls out. This pillow worked up very quickly. The entire project took about two hours to make. You can also customize this to have a cute little face or to hang on the door by adding a small strap.
Materials
Size H or 5.0 mm Crochet Hook
Medium worsted weight yarn in white
Tapestry needle for sewing on pocket
Poly-fil stuffing
Size
Finished product is 5 in from top to bottom of tail and 3.5 in across.
Can be made bigger or smaller by adjusting hook size and yarn weight.
Abbreviations
Ch- Chain
Sc- Single Crochet
Hdc- Half double crochet
Dec- Single Crochet Decrease
Sl st- Slip Stitch
Fo- Fasten off
**Note
This pattern is worked in rows. Unless otherwise stated, Ch 1 at the end of each row and turn work.
Stitch count is indicated at the end of each row in parentheses.
Tooth (Make 2) – White
Row 1 – Ch 15
Rows 2 – Sc in second ch from hook, sc in next 13 ch (14)
Rows 3-6 – Sc 14 (14)
Row 7 – Dec, sc 10, dec (12)
Row 8 – Sc 12 (12)
Row 9 – Dec, sc 8, dec (10)
Rows 10-11 – Sc 10 (10)
Row 12 – Sc 5, leave remaining 5 stitches unworked (5)
Row 13 – Sc 5 (5)
Row 14 – Dec, sc 3 (4)
Row 15 – Sc 4 (4)
Row 16 – Dec 2 (2)
Row 17 – Sc 2 (2)
Row 18 – Dec (1)
F/O
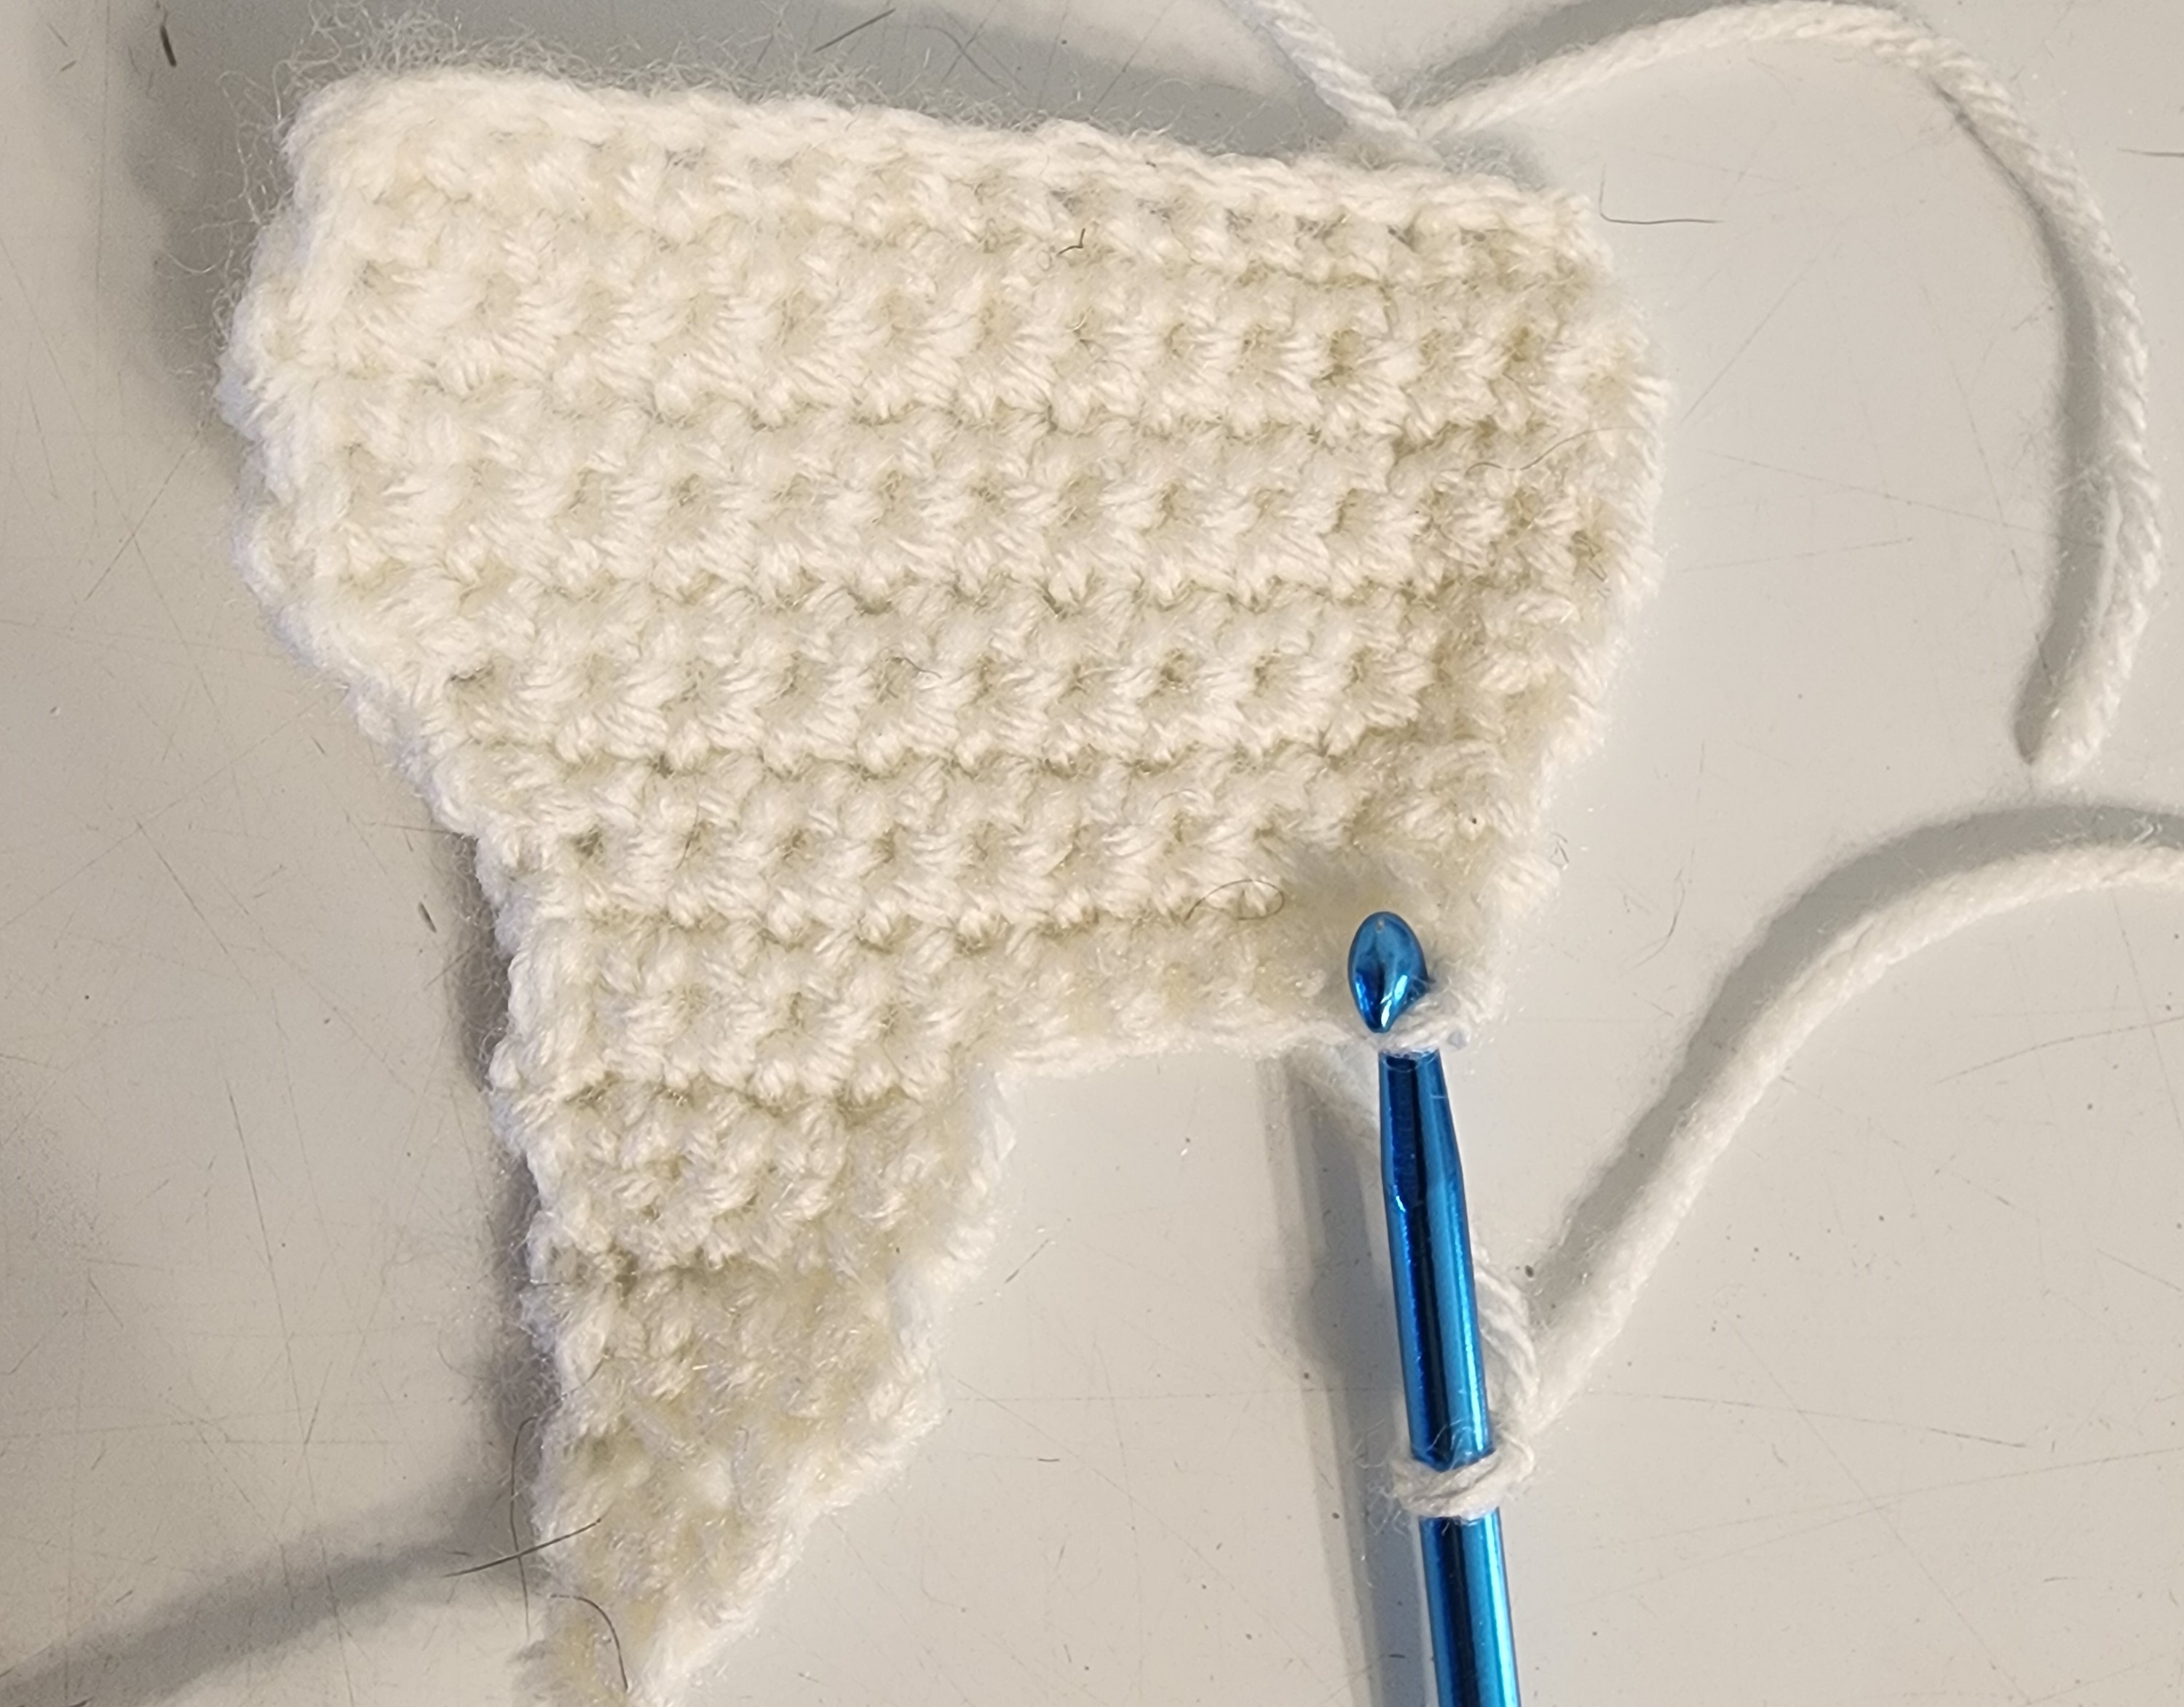
Row 19- Working in the last stitch of row 11 sc across the 5 remaining unworked stitches (5)
Row 20 – Sc 5 (5)
Row 21 – Dec, sc 3 (4)
Row 22 – Sc 4 (4)
Row 23 – Dec 2 (2)
Row 24 – Sc 2 (2)
Row 25 – Dec (1)
F/O
We will now finish the top of the tooth.
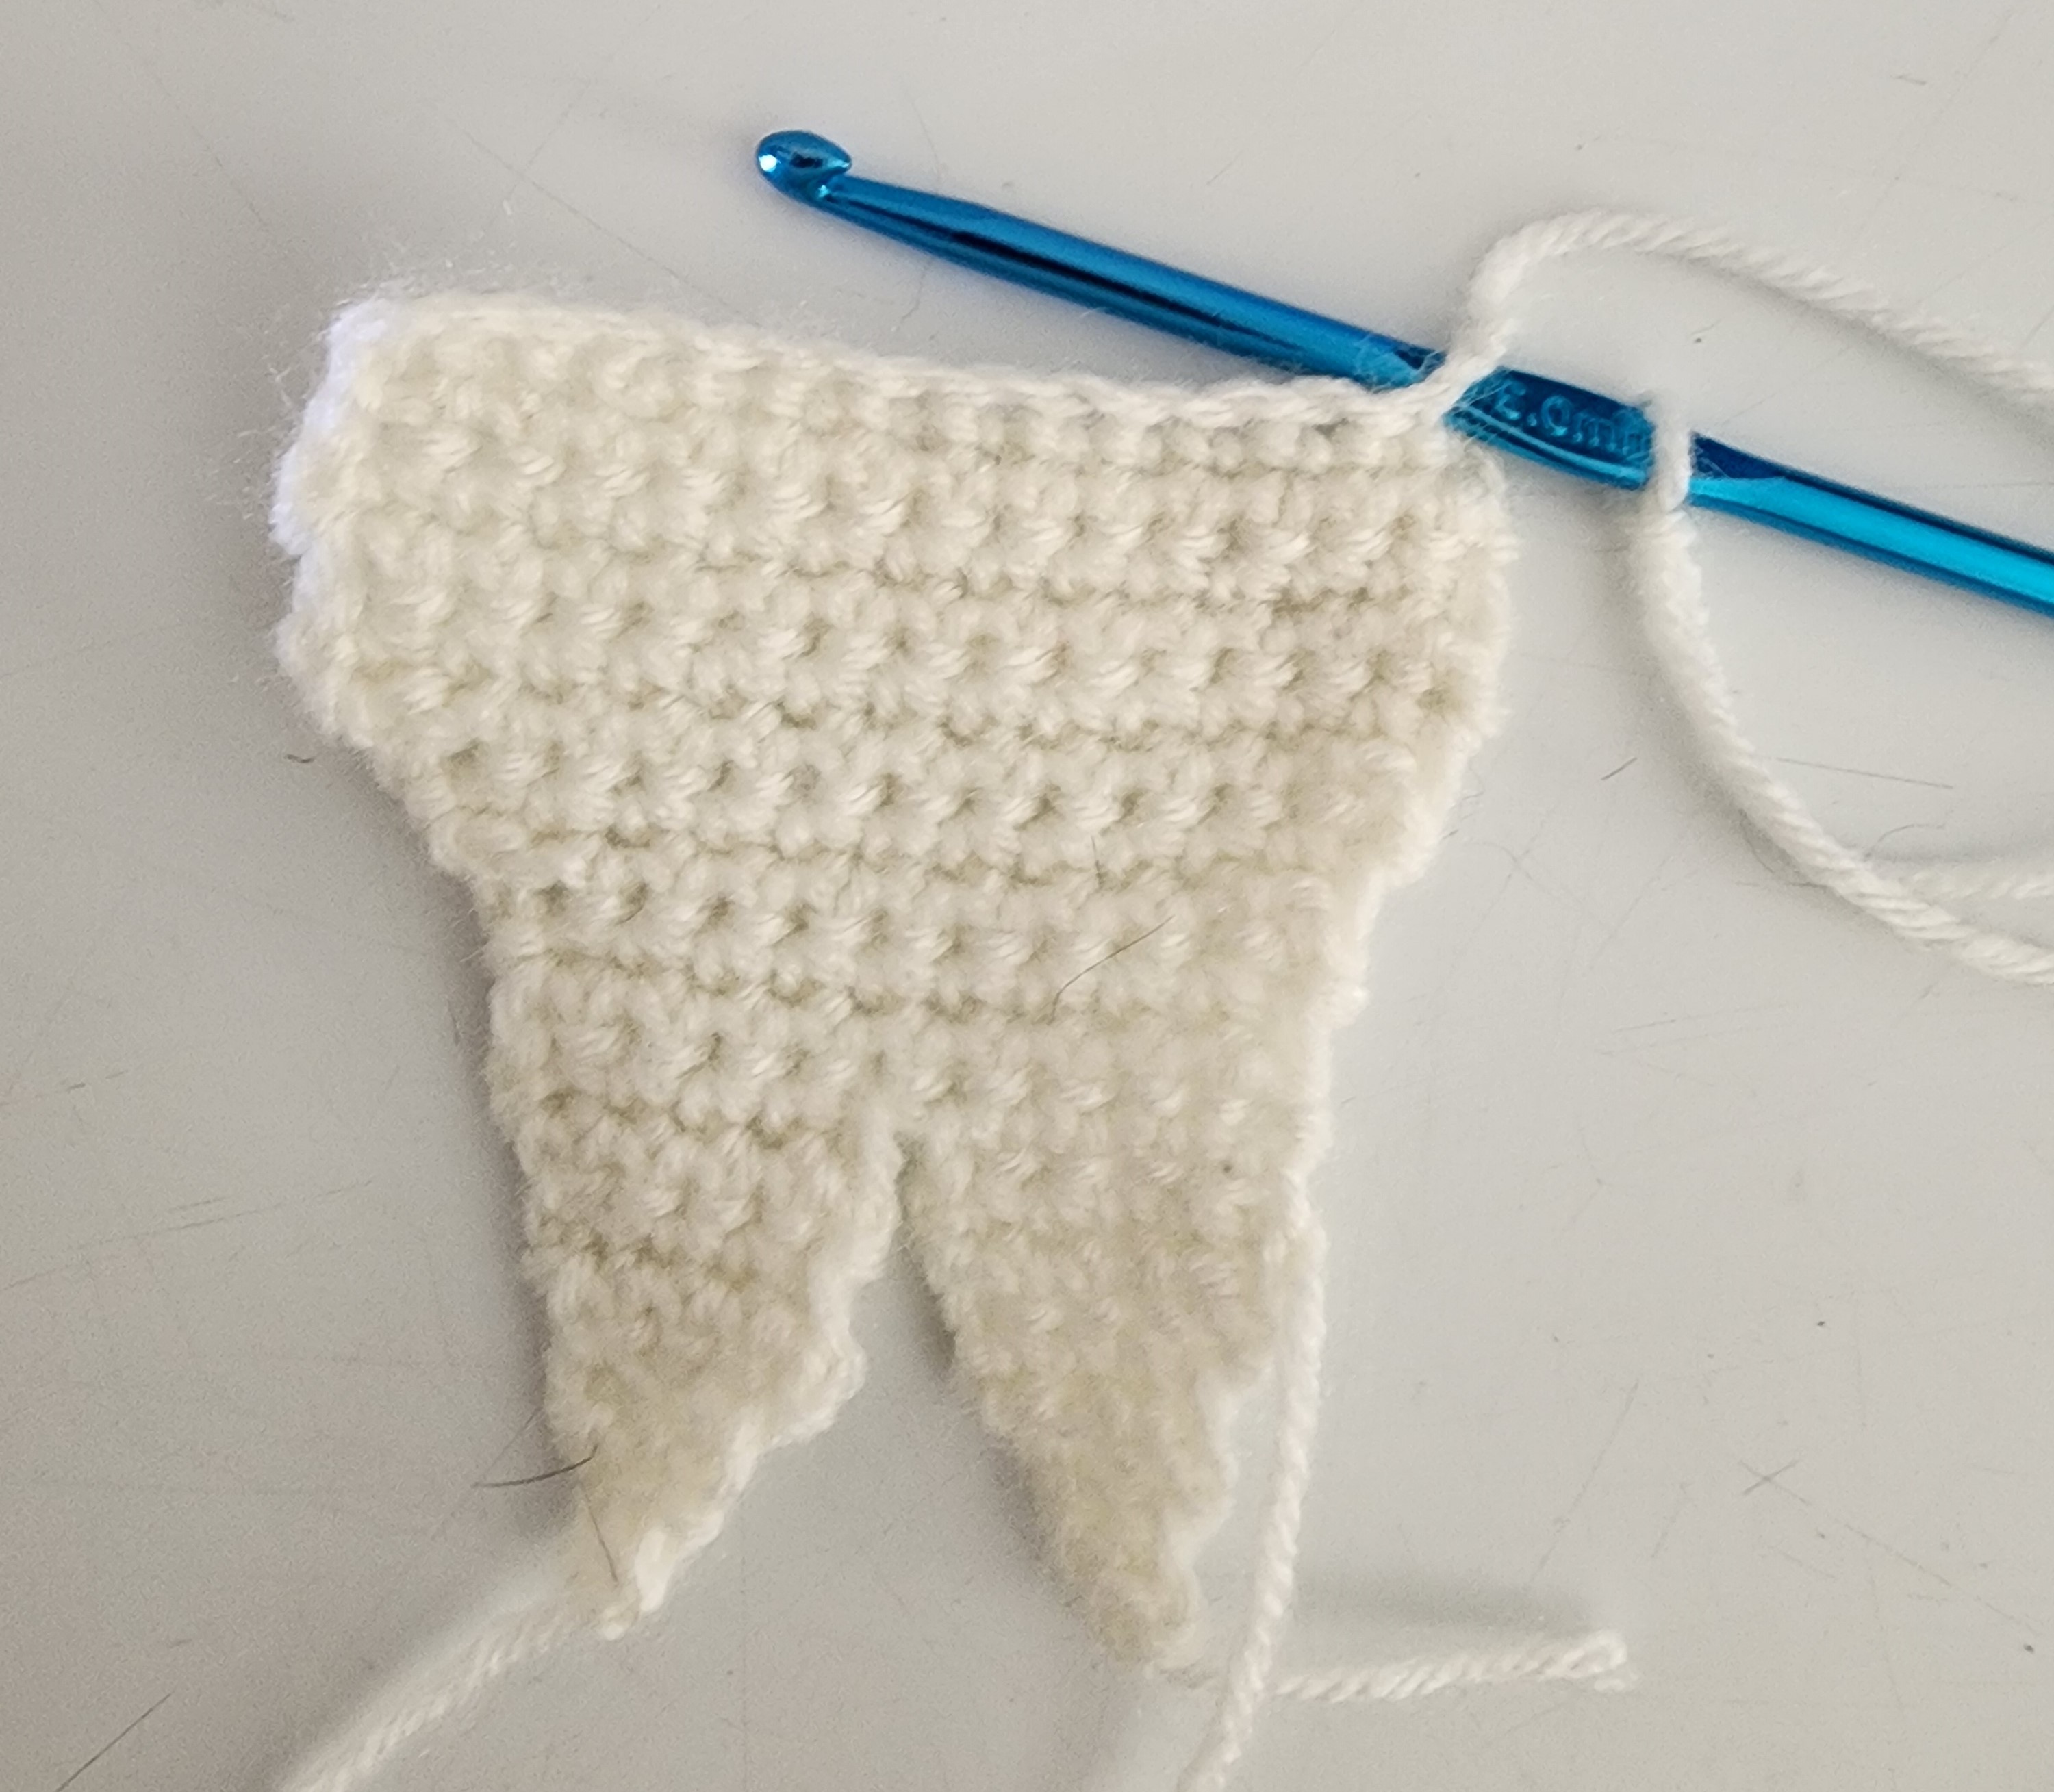
Row 1 – With front of work facing you sc 14 into starting chain beginning in right-hand corner (14)
Row 2 – Dec, sc 10, dec (12)
Row 3 – Dec, sc, hdc, sc, sl st 2, sc, hdc, sc, dec (10)
Row 4 – Sc 2, hdc, sc, sl st 2, sc, hdc, sc 2 (10)
Row 5 – Ch 1 turn and sc around the entire piece adding to sc into the corners of the tooth roots
F/O
Pocket (Make 1)
I made this in white to match, but you can make it any color.
Row 1 – Ch 9
Row 2 – Sc in the second ch from hook and in the remaining 7 ch (8)
Rows 3- 12 – Sc 8 (8)
** You can make the pocket longer or shorter by adding more or less rows.
Row 13 – Ch 1 turn and sc around the entire piece. Leave a tail for sewing.
Assembly
If you would like to add a face to the tooth, be sure to attach safety eye in desired location before attaching front and back pieces of tooth.
Sew the sides and bottom of the pocket onto one piece of the tooth. Be sure to leave the top of the pocket open so you can put teeth and money in it!
Align tooth pieces so that edges match. Be sure that the pocket is facing the outside of the work. With front facing you, single crochet through both pieces in a counter-clockwise direction to attach front to back. Leave opening to stuff (do not overstuff), finish closing, fasten off and weave in ends.
We love seeing your work! Please share your finished projects in the comments section or on ravelry!
