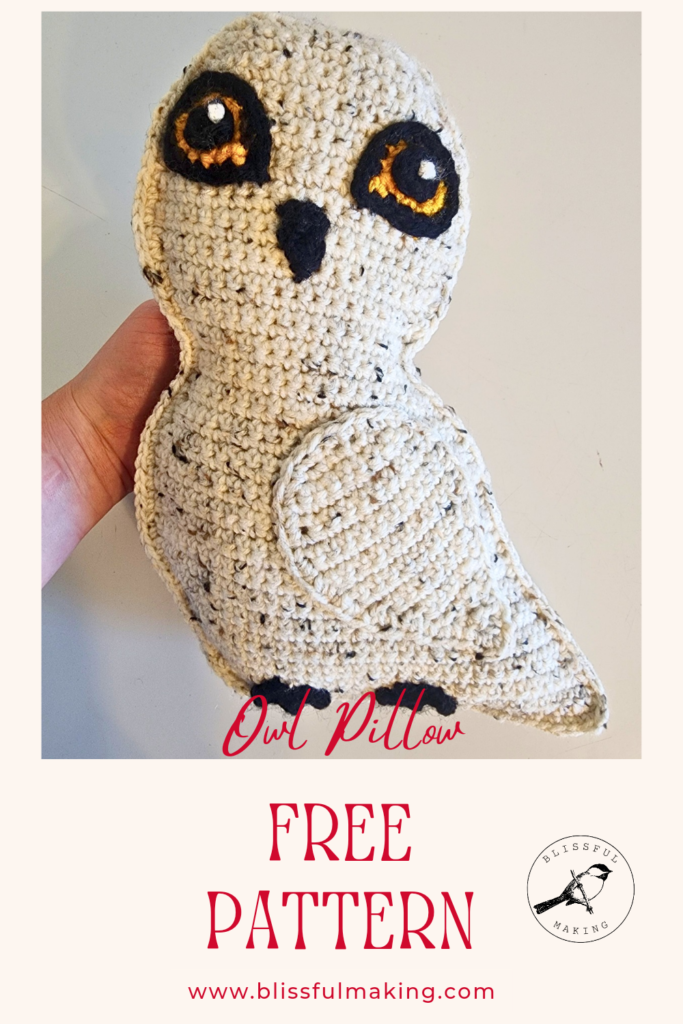
Owl Pillow Crochet Pattern
**Disclaimer **
This post contains amazon affiliate links. As an Amazon Associate, I earn from qualifying purchases.
Materials
Size H or 5.0 mm Crochet Hook
Medium worsted weight yarn in three colors.
Color A (white) for body
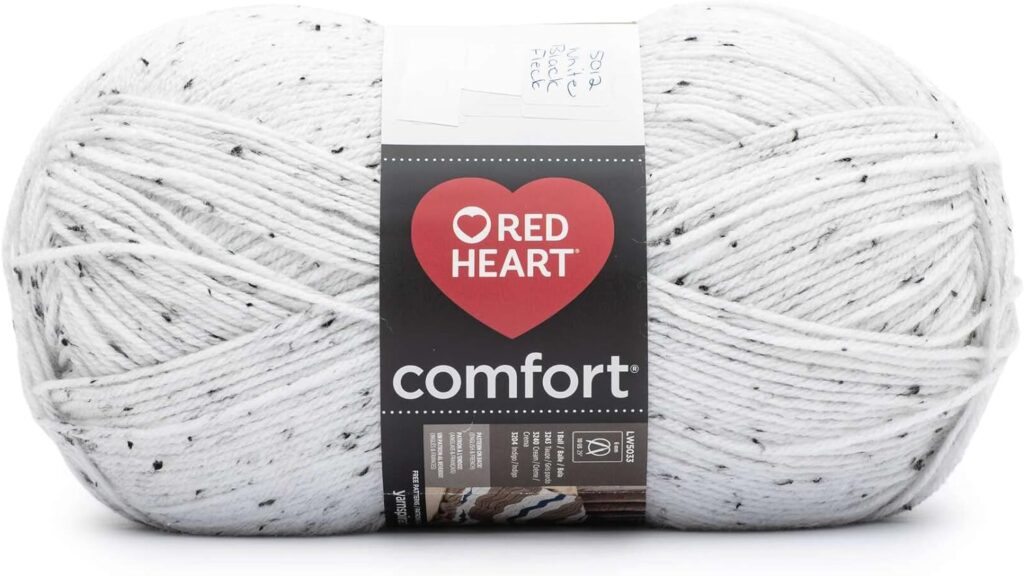
https://amzn.to/4cXPqTH (amazon)
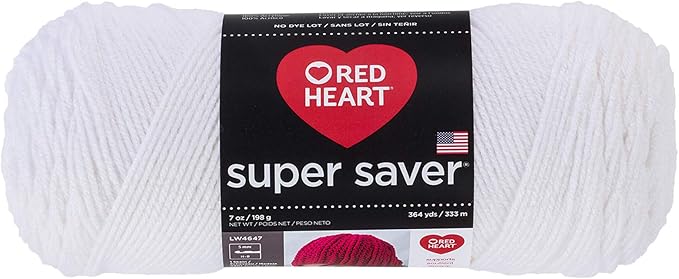
https://amzn.to/4cNhvNd (amazon)
Color B (black) for feet and beak

https://amzn.to/4dlOubx (amazon)
Color C (yellow) for eyes
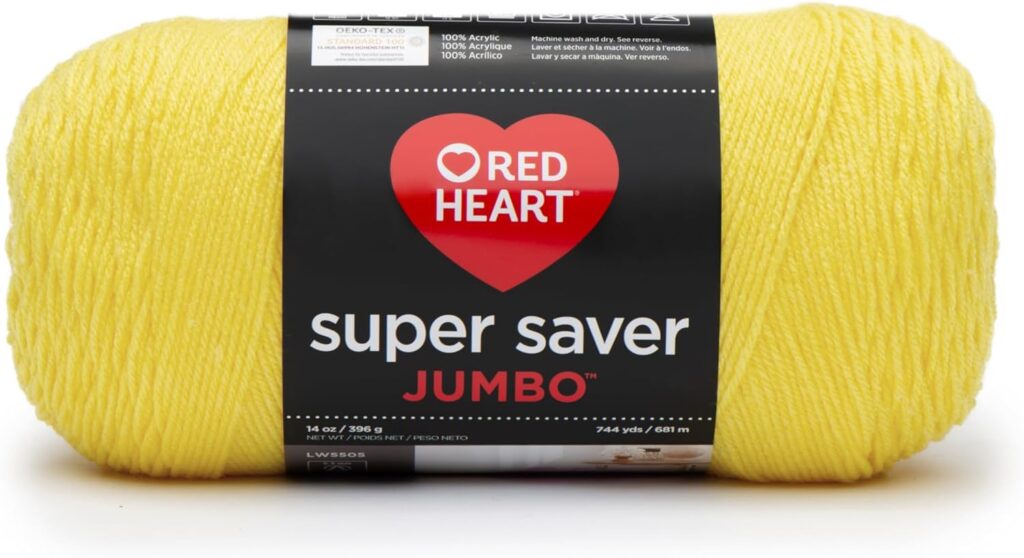
https://amzn.to/3SbRS0d (amazon)
Two safety eyes in desired size (if not crocheting eyes)
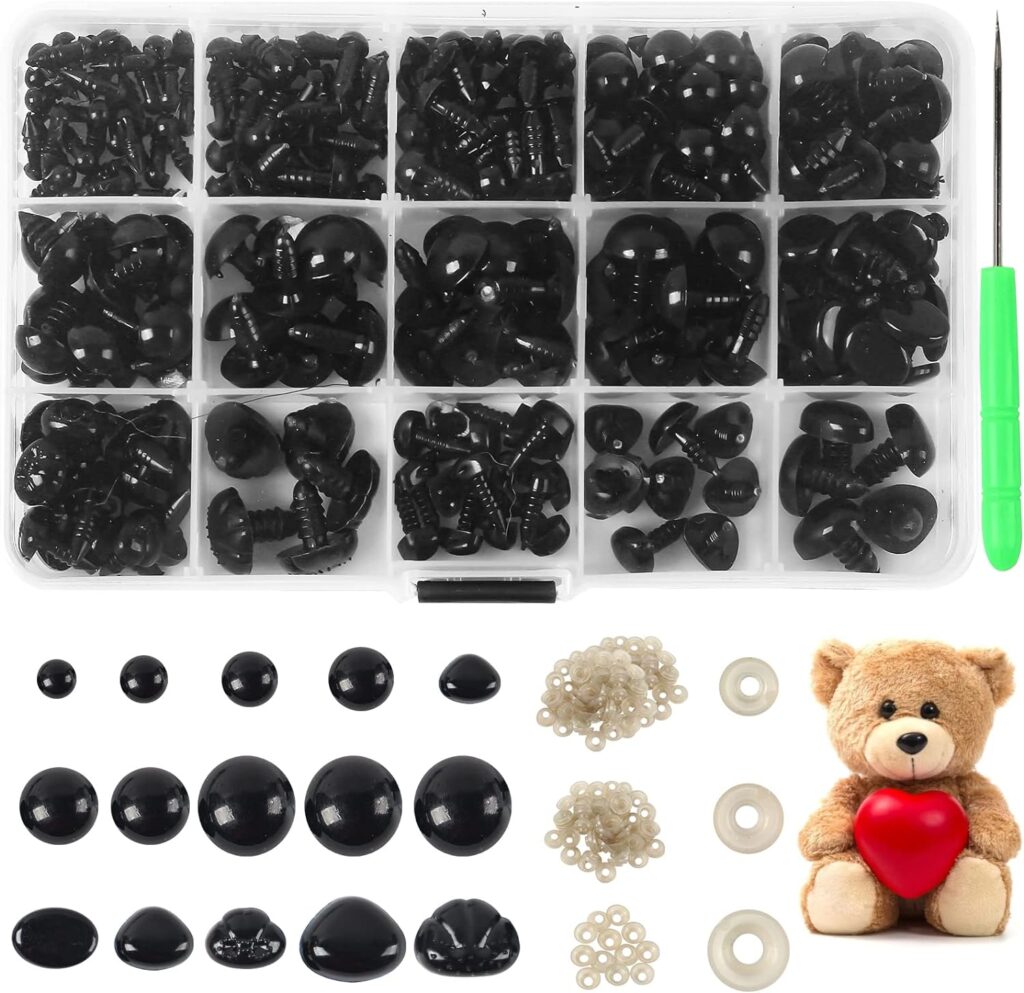
https://amzn.to/3Y6kMm9 (amazon)
Poly-fil stuffing
https://amzn.to/4cUBtWc (amazon)
Tapestry needles for sewing accents
https://amzn.to/4bFwZBy (amazon)
Embroidery thread for eye accent
https://amzn.to/4cZNZU8 (amazon)
Size
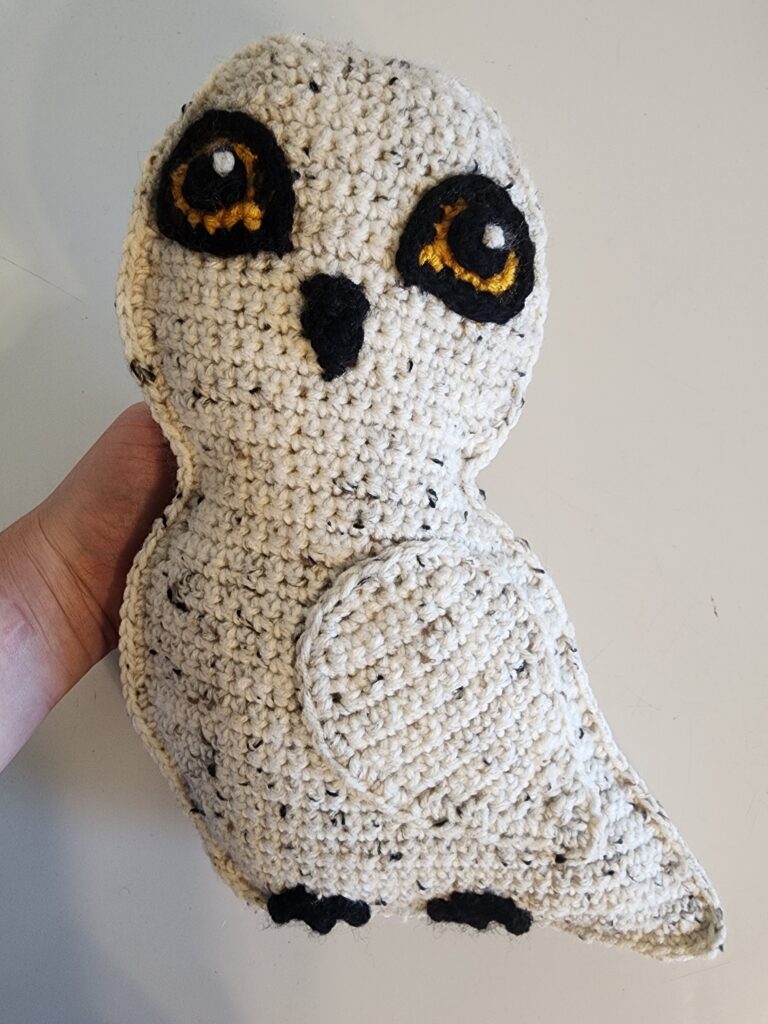
Finished product is 12 in from top to bottom and 6.5 in across.
Can be made bigger or smaller by adjusting hook size and yarn weight.
Abbreviations
Ch- Chain
Sc- Single Crochet
Hdc- Half double crochet
Inc- Single Crochet Increase
Dec- Single Crochet Decrease
Sl st- Slip Stitch
MR- Magic Ring
Fo- Fasten off
**Note
This pattern is worked in rows. Unless otherwise stated, Ch 1 at the end of each row and turn work.
Stitch count is indicated at the end of each row in parentheses.
Owl Body (Make 2) – Color A
Row 1 – Ch 13
Row 2 – Sc in second chain from hook, Hdc in next 10 ch, Sc (12)
Row 3 – Inc, sc 10, inc (14)
Row 4 – Sc 14 (14)
Row 5 – Inc, sc 12, inc (16)
Row 6 – Sc 16 (16)
Row 7 – Inc, sc 14, inc (18)
Row 8 – Inc, sc16, inc (20)
Rows 9-13 – Sc 20 (20)
Row 14 – Inc, sc 18, inc (22)
Rows 15- 17 – Sc 22 (22)
Row 18 – Dec, 18, dec (20)
Rows 19-20 – Sc 20 (20)
Row 21 – Dec, sc16, dec (18)
Row 22 – Sc 18 (18)
Row 23 – Dec, sc 14, dec (16)
Row 24 – Sc 16 (16)
Row 25 – Dec, sc 13, inc (16)
Row 26 – Inc, sc 14, inc (18)
Row 27 – Sc 17, inc (19)
Row 28 – Inc, sc 17, inc (21)
Row 29 – Sc 20, inc (22)
Row 30 – Inc, sc 20, inc (24)
Row 31 – Sc 24 (24)
Row 32 – Inc, sc 22, inc (26)
Rows 33- 36 – Sc 26 (26)
Row 37 – Sc 25, inc (27)
Rows 38-39 – Sc 27 (27)
Row 40 – Inc, sc 26 (28)
Row 41 – Sc 28 (28)
Row 42 – Inc, sc 25, dec (28)
Rows 43-44 – Sc 28 (28)
Row 45 – Dec, sc 25, inc (28)
Row 46 – Sc 28 (28)
Row 47 – Dec, sc 25, inc (28)
Row 48 – Sc 28 (28)
Row 49 – Dec, sc 25, inc (28)
Row 50 – Sc 28
Row 51 – Dec, sc 25, inc (28)
Row 52 – Sc 28 (28)
Row 53 – Dec, sc 25, inc (28)
Row 54 – Inc, sc 25, dec (28)
Row 55 – Sc, hdc 26, sc (28)
FO, Weave in ends
Row 1- Ch 3
Row 2 – Sc 2 (2)
Row 3 – Ch 3, sc in second ch from hook, hdc in next ch
Row 4 – Skip next stitch and sl st into final stitch.
FO, leave tail for sewing
Wing (Make 1) – Color A
Row 1- Ch 6
Row 2 – Inc, sc 3, inc (7)
Row 3 – Inc, sc 5, inc (9)
Rows 4-5 – Sc 9 (9)
Row 6 – Inc, sc 7, inc (11)
Rows 7-9 – Sc 11 (11)
Row 10 – Dec, sc 7, dec (9)
Rows 11-12 – Sc 9 (9)
Row 13 – Dec, sc 5, dec (7)
Row 14 – Sc 7 (7)
Row 15 – Dec, sc 3, dec (5)
Row 16 – Sc 5 (5)
Row 17 – Dec, sc, dec (3)
Row 18 – Sc 3 (3)
Row 19 – Dec, sc (2)
Row 20 – Dec (1)
Ch 1 and crochet around for clean edge
FO, leaving several inch tail for sewing
Foot (Make 2) – Color B
Row 1- Ch 4
Row 2 – Sc in second ch from hook and in remaining 2 ch (3)
Row 3 – (ch 3, sc in second ch from hook, hdc in next ch, sl st into next stitch) x 3
FO, leaving several inch tail for sewing
Eye (Make 2) – Color C (yellow)
Row 1 – Ch 4
Row 2 – Sc 3 (3)
Row 3 – Inc, sc, inc (5)
Row 4 – Ch 1 and sc around edge putting 2 sc in corners
FO
Sc around in black, putting 2 sc in corners
F/O leaving tail for sewing
Pupil (Make 2)- Color B (black)
Round 1- Sc 6 in magic ring
FO, leaving tail for sewing.
Add white to pupil with yarn or embroidery thread to create glow
Sew pupil to center of eye
Assembly
If using safety eyes be sure to attach them in desired location before attaching front and back pieces of owl.
Sew eyes, feet, and wing into desired locations. Align owl pieces so that edges match. With front facing you, single crochet through both pieces in a counter-clockwise direction to attach front to back. Leave opening to stuff (do not overstuff), finish closing, fasten off and weave in ends.
